Pavers, Travertine and Hardscape Restoration in Southwest Florida
Hardscape restoration is a sequence, not a single service. Here is what each material tolerates, how sealer actually fails, what a blast pass does, and what has to happen before anything new goes down.
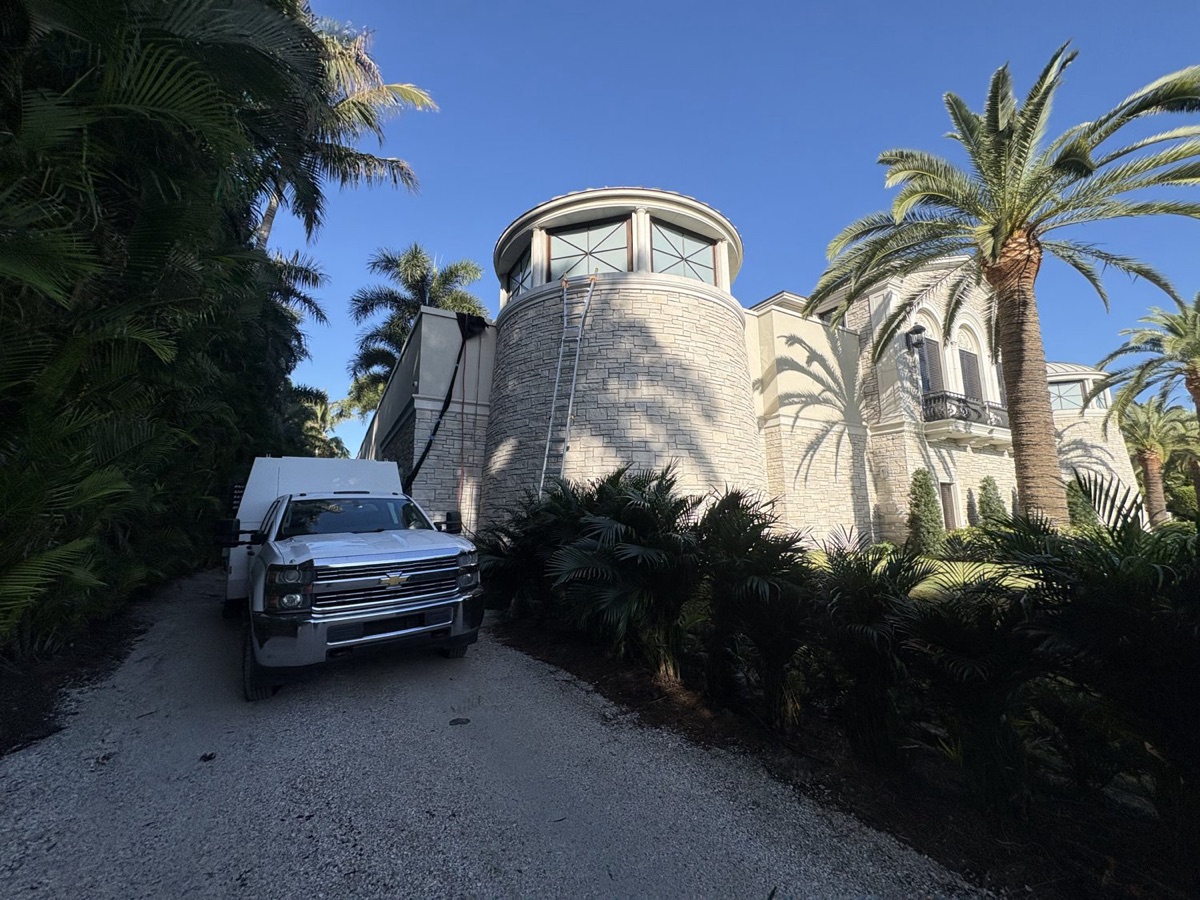
The short version
- Restoration is a sequence: strip the failed coating, clear the joints, dry the material, re-sand, then seal. Skip a stage and the stage after it fails.
- The material sets the ceiling. Travertine and soft stone get the gentlest media available, while dense concrete pavers tolerate more cut.
- Film-forming sealers are the ones that whiten, amber, peel and trap moisture. Penetrating products fail quietly instead of dramatically.
- What the surface looks like tells the crew how deep the strip has to go, which is why a walk and a test patch come before the real work starts.
- Blasting owns the removal step. Re-sanding and re-sealing are coordinated or handed to the customer's own contractor.
- Drying time in Florida humidity is the step most often rushed, and rushing it is one of the usual reasons a fresh seal hazes over.
Restoration is a sequence, and blasting is one stage of it
Most people call about a single step. The driveway has gone white, or the travertine around the pool looks blotchy and feels slick underfoot, and the question is whether the coating can be blasted off. It can. But stripping on its own is not a restoration, and treating it as a standalone errand is how a beautifully stripped patio ends up hazy again sooner than it should.
Think of hardscape work as a chain with five links, each one gating the next. First the failed coating and the biological growth come off. Then the joints get cleared of the old sand, the debris and the mold that was living in them. Then the material dries all the way through, not just on the face. Then the joints get re-sanded. Only then does a new sealer go down. Break any link and the ones after it inherit the problem.
Blasting owns the first two links. It is the only stage in the whole sequence where the surface goes back to a known condition instead of a mystery layered over by whoever worked on it last. That is the argument behind our paver sealer removal service and the wider residential blasting work it sits inside.
The division of labor matters too, and it is worth saying plainly up front. Stripping and surface prep is what the rig does. The re-sand and the re-seal at the end are either coordinated for you or handed off to your own contractor. Knowing that split from the beginning is what keeps a project from stalling with a clean, bare, unprotected surface sitting in the sun.
Every hardscape material takes media differently
There is no single setting for hardscape, because hardscape is not one material. Two properties on the same street can have surfaces that behave nothing alike under a nozzle, and the material always sets the ceiling on how hard the abrasive may work.
Clay brick pavers are fired, dense on the face and relatively forgiving, but older brick can be worn or spalled at the edges, and the mortar or sand joints between them are the weak point rather than the brick itself. Concrete pavers are the workhorse of Southwest Florida driveways and generally the most tolerant surface in the whole category, since the aggregate and cement matrix can take a firmer cut without losing its face. Stamped and broom-finish concrete is a different animal again: the texture is the finish, so the goal is lifting a coating out of the low spots without rounding off the high ones.
Travertine, shellstone, marble and the other soft natural stones are where restraint becomes the entire job. These are porous, comparatively soft, and full of natural voids that trap coating and growth. Push too hard and you do not strip stone, you texture it, and that change is permanent. This is exactly the work soda blasting exists for, since a friable media releases its energy breaking the bond rather than cutting the surface.
Porosity is the quiet variable across all of them. An open, thirsty material has pulled coating and staining down into itself, so removal reaches deeper than the eye suggests. A tight, dense one holds the failure closer to the top. The same reasoning drives how paint gets handled on masonry, which is covered in stripping paint from concrete, brick and block.
Sealer types, and the different ways each one quits
Most hardscape failures you will see in this region are the coating, not the stone. Understanding which family of sealer is on your surface explains both why it looks the way it does and how much work it will be to remove.
Film-forming acrylics sit on top of the material as a continuous skin. They are the popular choice because they darken color, add gloss and look spectacular the week they go down. They are also the family behind most of the dramatic failures you see on driveways. A film is only as good as its bond and its ability to let moisture out, and when either one gives up, the film whitens, blisters, ambers or lets go in sheets. Solvent-based versions tend to bite harder into the surface and fight the strip more stubbornly than water-based ones, though both arrive at the same failure in the end.
Penetrating sealers work differently. They soak in and treat the material from within rather than covering it, so there is no film to peel. Their failure is quiet: water stops beading, staining starts sticking, and the surface simply stops being protected. There is usually far less material to remove, but the pores still need to be genuinely clean before anything new can soak in.
Wet-look and color-enhancing products belong to the film-forming family regardless of what the label emphasizes, and they are usually the thickest coatings on any given property because homeowners love the look enough to refresh them often. Layer several of those refreshes over each other without ever stripping and you get the stacked, brittle assembly that fails all at once.
Reading the failure: what the surface is telling you
Before anybody touches the surface, it gets read, because the symptom decides how deep the strip needs to go. Each kind of failure lives at its own depth, and treating them all the same is how crews either leave coating behind or take more material than they needed to.
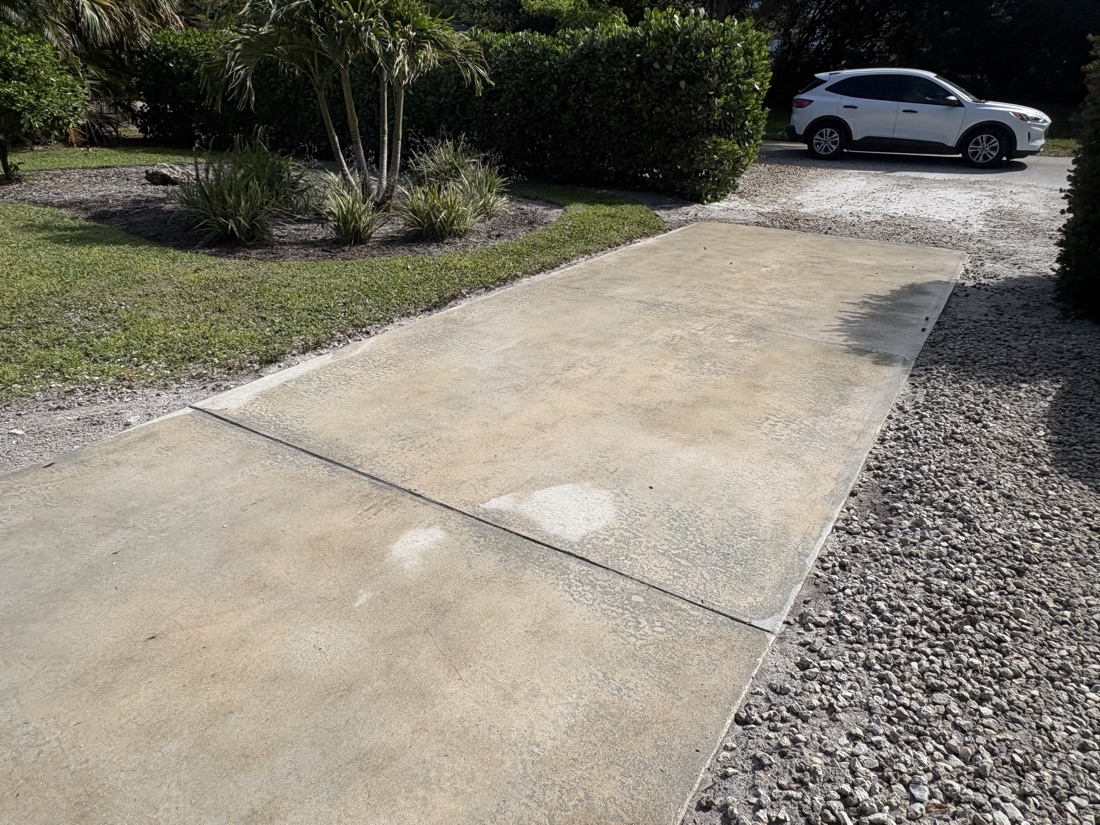
A milky white haze across the field is trapped moisture inside a film. The haze lives in the coating, not on it, which is why a fresh coat over the top does not clear it. Blotchy patches where some areas look wet and others look dry usually mean the film bonded in some places and not others, which is a strip-the-whole-thing situation rather than a spot repair. Peeling sheets are the most honest symptom of all, and the broken edge is worth studying: several visible layers along that edge means the failure happened deep in the stack and there is more material to remove than the top coat suggests. Ambering, that yellow-orange cast on older glossy work, is the coating itself aging rather than dirt, so it comes off with the film and not with a cleaner.
Then there is everything the coating trapped. A slick surface is usually biofilm growing on or under a glazed finish, which is a safety problem around a pool long before it is a cosmetic one. Efflorescence, the chalky white mineral bloom, is moisture carrying salts up from below and depositing them at the face. Mold and algae rooted in the joint sand, rust bleeding from furniture feet, screws, rebar or irrigation, fertilizer staining and burned-in tire marks each sit at their own depth.
Around a pool cage those symptoms tend to arrive together, which is the subject of restoring a pool deck and lanai with blasting. The takeaway here is simply that the surface is the diagnostic, and it gets read before the plan is written.
Why the usual shortcuts make the job harder
Three fixes get tried on almost every failing hardscape surface before anyone calls a blaster, and all three tend to leave the property worse than they found it.
The first is sealing over the failure. It is the most tempting because it is the easiest thing to try and it looks better for a little while. What actually happens is that a new film gets laid over a compromised one, so the new coating inherits the old bond, the trapped moisture and the growth underneath. Then both layers fail together, and now there is twice as much material to remove.
The second is stripper by the gallon. Chemical removal has a legitimate place on a small area, and it falls apart on a full driveway or lanai. Solvents soften a coating rather than removing it, which leaves gummy residue in the joints and down in the pores, and porous stone is very good at holding onto that residue. The walkthrough of why mechanical removal wins on a full surface is already written up in how to remove old paver sealer, so there is no need to re-run the argument here.
The third is turning a pressure washer up until it bites. Water at that pressure blows joint sand out, etches soft faces, fuzzes edges and drives moisture straight into material that needs to be dry, which sets up the exact haze the homeowner was trying to fix. When a wash is the right call and when it is not is the whole subject of pressure washing versus media blasting a driveway. Read that one before renting anything.
The restoration visit, from the walk to a surface that is ready
A restoration day has a shape, and most of it is not blasting.
It opens with a walk. Somebody reads the coating, looks at where it is already lifting, checks the joints, identifies the material and its condition, notes cracks, sunken sections and previous repairs, and flags anything that must not be touched: pool tile and coping, the waterline, screen panels and cage fasteners, low-voltage lighting, an outdoor kitchen, glass, irrigation heads, plantings and the neighboring property. A test patch in a discreet corner follows on nearly every job, because reading a coating from above only tells you so much and the first patch answers the rest.
Then comes masking, which on a residential hardscape job is genuinely the bulk of the setup. Anything staying put gets covered. Where drift would be a problem near screens, water, vehicles or a neighbor's lot, a wet setup earns its place, and dustless blasting is the version of this work that keeps the cloud down and the heat out of the surface.
The blast pass itself is methodical: consistent standoff and angle, overlapping passes, each section finished before the nozzle moves on, which lets the operator see what is lifting and what the bare material looks like as it appears. The joint clean-out follows, clearing old sand, debris and rooted growth out of the lines rather than just off the faces. What you are left with at the end is a bare, uniform, contaminant-free surface with open joints, which is precisely what "ready to re-sand and re-seal" means. From there the finish work is either coordinated for you or handed to your own contractor, which is worth deciding before the date rather than after.
Containment, dust and why this is not a rental-yard project
Hardscape restoration happens in the most sensitive place on a residential property. The pool is right there. So is the cage, the AC condenser, the pool equipment, the landscaping somebody paid to install, the screens, the glass, the cars and a neighbor close enough to be affected by anything that drifts. Controlling where material goes is not a courtesy on this kind of job, it is the job.
That is why containment gets planned before anything gets stripped. Surfaces and equipment that stay in place get covered. Water and the pool get protected. Plants get shielded rather than rinsed and hoped for. Where the setting calls for it, a wet method keeps airborne material down instead of letting it travel. Spent media and the coating it took off get gathered up rather than swept into a bed or a drain.
The other half is what is actually coming off the surface. Blasting hard materials puts fine particulate into the air, older coatings on an older property may hold contaminants no one wants in their lungs, and none of that is identifiable by looking at it. Respiratory protection, the right method for the material and the judgment about what is genuinely on the surface are the work, not accessories to it.
Which is the plain reason this is a bad candidate for a rented pot or a weekend with a bucket of stripper. Renting equipment does not rent the ability to read a surface, and the failure mode is not a bad afternoon, it is permanently textured travertine, etched paver faces, a stripped lawn or a solvent problem around a pool. A licensed and insured crew carries the containment, the protection and the calls so the homeowner does not have to.
After the strip: drying, joint sand and a re-seal that holds
The bare surface is not the finish line. It is the beginning of the part that decides whether this restoration lasts or repeats.
Drying comes first and it is the step most often rushed. Pavers and stone in this climate hold moisture well below the face, and ground moisture keeps wicking up from underneath long after the top looks and feels dry. Sealing over that is one of the surest ways to buy a white haze on a surface that was clean a week ago. How long a surface needs is set by the material, the weather and the drainage on that particular property, not by anybody's schedule, and the dry season is genuinely easier to work in than the middle of a rainy summer.
Joint sand goes back next, because the joints are structural. Sand is what keeps pavers locked against each other and keeps the field from creeping and rutting. Blasting clears those joints on purpose, so re-sanding is part of the plan rather than a sign something went wrong, and a properly filled joint is also what stops the next generation of growth from setting up shop down in the gaps.
Then the sealer class gets chosen to suit the material and what you actually want from the surface. A penetrating product protects without adding a film, which suits people who like the natural look of stone and want to avoid the failure modes described earlier. A film-forming product delivers the deep color and gloss a lot of homeowners are after, and it comes with the maintenance rhythm that goes with a film. Neither is wrong. What is wrong is applying either one to a damp or dirty surface. Grid work like Marco Island paver sealer removal and Estero paver sealer removal shows how the same sequence reads on different housing stock.
Why this climate is so hard on hardscape
A sealer that holds up for years in a cooler, drier part of the country meets very different conditions here. That gap explains why surfaces in Southwest Florida reach the strip-and-reseal stage sooner than owners expect.
Start with the sun. Ultraviolet exposure is relentless and close to year round, and it is what drives ambering, chalking and the general embrittlement of a film until it cracks instead of flexing. Then add heat, which expands and contracts hardscape daily and works every bond a little at a time.
Moisture is the bigger factor though, and it arrives from every direction. Humidity keeps surfaces from ever really drying out during the wet season. Afternoon storms soak a surface on a near daily rhythm for months. Irrigation runs on a timer and puts water on driveways, walkways and pool decks whether they needed it or not, often carrying minerals and fertilizer with it. Ground moisture wicks up through material laid over sandy soil with a high water table underneath it. A film-forming coating stands between all of that and the open air, and when it cannot let moisture pass, the moisture wins.
On the coast, salt air adds its own load and feeds the rust staining that bleeds from furniture, fasteners and rebar into the surface around them. Growth is the last piece: warm, wet and shaded is ideal for algae and mold, so a screened lanai or a north-facing walk under palms gets biological pressure that an open driveway in a drier state never sees. Town pages such as Bonita Springs and Naples cover how the same conditions play out neighborhood by neighborhood.
Choosing who does the work, and what the free on-site look covers
Hardscape is a category where the description of the work tells you far more than the summary at the bottom of an estimate does. Two outfits can quote the same driveway and be describing genuinely different projects, so the questions are where the value is.
Worth asking anyone who walks your property: which media suits this material and for what reason, where the strip stops and how that gets judged, whether a patch gets tested first, what exactly gets masked and protected around the pool and the cage, where does the spent media end up, does the scope stop at stripping or continue through the joints, and who handles the re-sand and the re-seal at the end. Answers that get specific about your surface are a much better signal than answers about equipment. Add one more: proof that the outfit is licensed and insured for work on this property.
All of that gets answered at the on-site look. Somebody stands on the actual surface, identifies the material, reads how the coating is failing and how many layers are involved, checks the joints and the condition underneath, looks at access and what has to be protected, and asks what you want the finished surface to look like. Factor talk lives elsewhere on this site, in the cost and buying guide and in what drives paver sealer removal work in Southwest Florida, so this page stays on the craft.
SWFL Media Blasters is Naples based, blasting since 2015, licensed, insured and entirely mobile: the rig arrives at your driveway, lanai or pool deck. Blast it, prep it, coat it. There is no charge for the on-site look. Call or text (239) 227-1768, or send a note through the contact page, and someone will come read your pavers or travertine in person.